
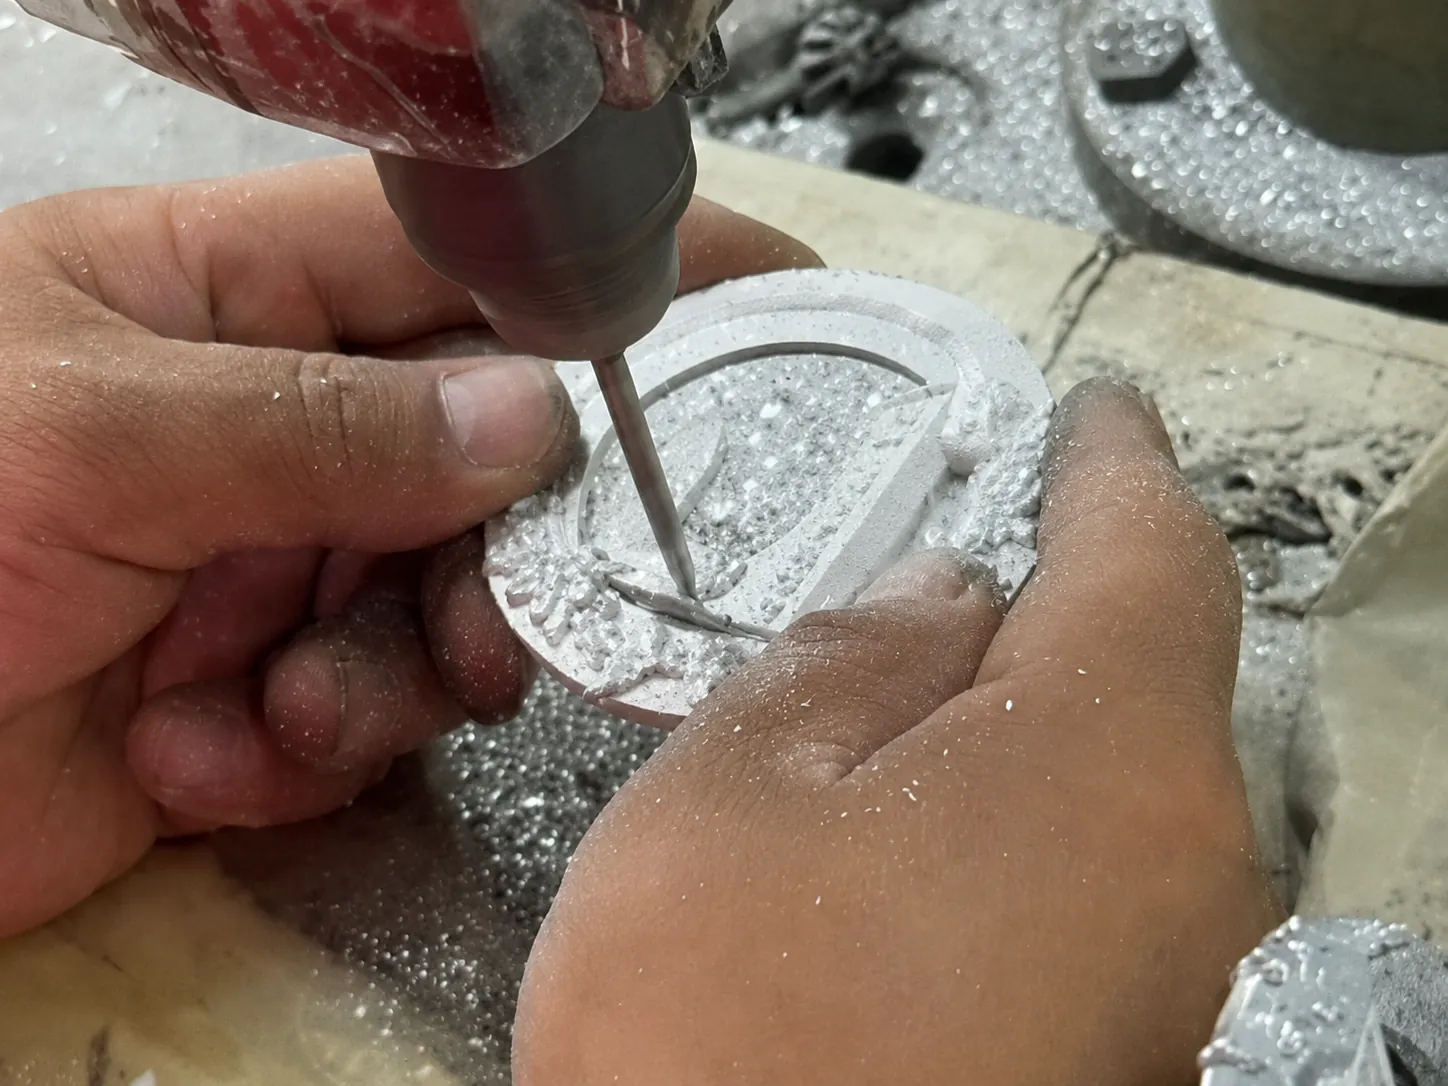
A finish can be correct by name and still look wrong on the part. The same gold-tone reference can appear brighter on a polished flat plate, darker around deep relief and warmer under different lighting. Gunmetal and matte black show the same variation when the shape, polishing level or surface texture changes.
Color-filled details add another set of checks. A line that looks clear in the artwork may be too narrow or shallow to hold a clean boundary after casting, polishing and plating. Decorative inserts also need enough structure around them to stay secure without crowding the visible design.
When we discuss finish with a buyer, we separate the overall metal tone, localized color detail, artwork readability and any pearl-effect or stone-set element. That gives the sample a defined visual target instead of relying on one finish name.
Quick answer: choose by appearance, structure, artwork and application
Start by deciding which parts of the product should remain visible metal and which areas need added color or decorative detail. Then check whether the casting geometry, logo depth and edge definition can produce that result at the target size.
The application matters as much as the artwork. A bag plate, zipper puller, badge and shoe trim are handled, rubbed and viewed differently. Finish approval should therefore use the actual part or a representative sample rather than a color name alone.
- Overall metal tone and reflection level
- Areas that require localized color
- Logo line width, depth and viewing distance
- Contact points, assembly method and expected handling
- Reference sample and project-based testing requirements
Plating finish vs localized color fill
A plating finish establishes the tone and reflection of the exposed metal surface. Antique bronze, antique silver, gunmetal, matte black and gold-tone directions can all change as they move across flat faces, recesses, curves and polished edges.
Color fill is localized. It places color inside selected recessed or bounded areas while the surrounding metal keeps its plated finish. A product can use both, but the fill boundary must be designed into the artwork and part structure rather than added as an afterthought.
For a critical match, send a physical reference or a clear photo under neutral lighting. We compare that target with the real part shape and agree what the approved sample will control.
When color fill or an enamel-style appearance makes sense
Color fill works best when the artwork has defined recessed areas with enough width and depth for a clean boundary. It can improve contrast on letters, stripes, symbols and small brand details, but it cannot rescue artwork that is already too fine for the product size.
Buyers may use enamel, epoxy or resin as visual terminology. Those words do not confirm the actual material or production route. Until the process is checked against the part, we describe the requirement as color fill or an enamel-style appearance, with the fill system to be confirmed.
We also check what sits beside the filled area. Thin metal borders, sharp corners and closely spaced colors can make overflow, uneven edges or loss of definition more likely. Artwork adjustment before sampling is usually more effective than trying to correct an unsuitable boundary afterward.
- Keep important lines wide enough to remain visible after finishing.
- Leave clear metal boundaries between separate colors.
- Confirm whether the color should be glossy, muted, opaque or translucent in appearance.
- Approve the fill material and process only after the structure has been reviewed.
When pearl-effect or stone-set details make sense
Pearl-effect inserts and stone-set details can add contrast where a plated or color-filled surface alone would look too flat. They are most useful when the product has a defined seat, border or setting area that protects the decorative element and keeps it aligned.
Pearl-effect does not mean natural pearl, and stone-set does not confirm a gemstone. The insert or stone material, setting method, size tolerance and final appearance all need confirmation from the approved reference and project requirements.
Placement should also be checked against handling. A decorative detail on a protected logo plate behaves differently from one on a zipper puller or bag foot that receives repeated contact. Suitability and any testing should be discussed by application.
How finish choice affects logo readability
Logo readability depends on contrast, not only on the artwork file. A polished highlight can make raised letters stand out, while a dark antique tone can bring depth to recessed lines. The same logo may lose clarity when the metal tone and filled color sit too close together.
Fine lettering is especially sensitive. Plating, polishing and filling can soften edges or close narrow gaps. We normally compare the smallest text, thinnest line and tightest corner with the final product dimensions before confirming the mold and finish direction.
Viewing distance matters as well. A mark that works on a large bag plate may not remain legible on a narrow zipper puller. Simplifying artwork at the intended size often produces a stronger result than preserving every detail from the original logo.
Where finish and fill problems often appear
Most finish problems are easier to trace when the metal tone, artwork geometry and application are reviewed together. A visual reference without part information leaves too much open to interpretation.
- Color mismatch: the finish name or screen image does not define the approved physical tone.
- Fill overflow: recessed boundaries are too narrow, shallow or closely spaced.
- Unclear logo lines: polishing, plating or filling reduces contrast in fine artwork.
- Rough edges: part geometry or surface preparation leaves an uneven boundary around visible details.
- Coating damage: exposed contact points receive more rubbing or impact than the finish brief allowed for.
- Loose decorative elements: the insert or setting area does not suit the part size or application.
What we check before sampling
Before sampling, we translate the visual request into checks that can be applied to the actual part. The aim is not to lock every process in the first email. It is to identify what the structure can support and what still needs an approved reference.
- Product type, overall dimensions and visible surface shape
- Base plating tone, polish level and texture direction
- Recess depth, line width and separation between filled areas
- Insert seat, border and setting direction for pearl-effect or stone-set details
- Mounting method and areas exposed to tools during assembly
- Application, contact points and expected handling
- Approved physical sample, finish chart or reference photo
- Project-based wear, chemical or market testing requirements, if relevant
What buyers should send for an RFQ
A clear visual reference and basic product information are enough to begin. If the exact fill material or finish process is not known, show the appearance you want and mark the areas that need color or decorative detail.
- AI, PDF, SVG or EPS artwork when available
- Target dimensions and product type
- A physical finish sample or clear reference photos
- Marked artwork showing plating, fill and insert areas
- Application, mounting direction and contact areas
- Estimated quantity and any project-based testing requirement
Related product examples
These published products show how finish, fill and decorative detail interact with different structures. They are reference examples only; the material, process and suitability for a new project still need to be confirmed against buyer-approved artwork and the application.
Practical questions buyers often ask
Is color fill the same as enamel?
Not necessarily. Buyers may use enamel as appearance terminology, but the actual fill material and production route must be confirmed against the product structure and approved sample.
Why can the same finish reference look different on different parts?
Surface shape, polishing level, texture, logo depth and lighting all change how a finish reads. Approve the tone on the actual part or a representative sample rather than by name alone.
Can pearl-effect or stone-set detail be used on every product?
No. The part needs enough space and structure for the insert or setting, and the application must suit its contact and handling conditions. Material and setting details remain project-specific.
What should I send before sampling a custom finish?
Send the artwork, target dimensions, product type, application, marked color areas and a physical sample or clear finish reference. Include mounting and testing requirements when they affect the finish.
Send your artwork, product dimensions, application and finish reference. We can check the plating direction, color boundaries, decorative details and the points that still need sample approval.
Send Finish References