
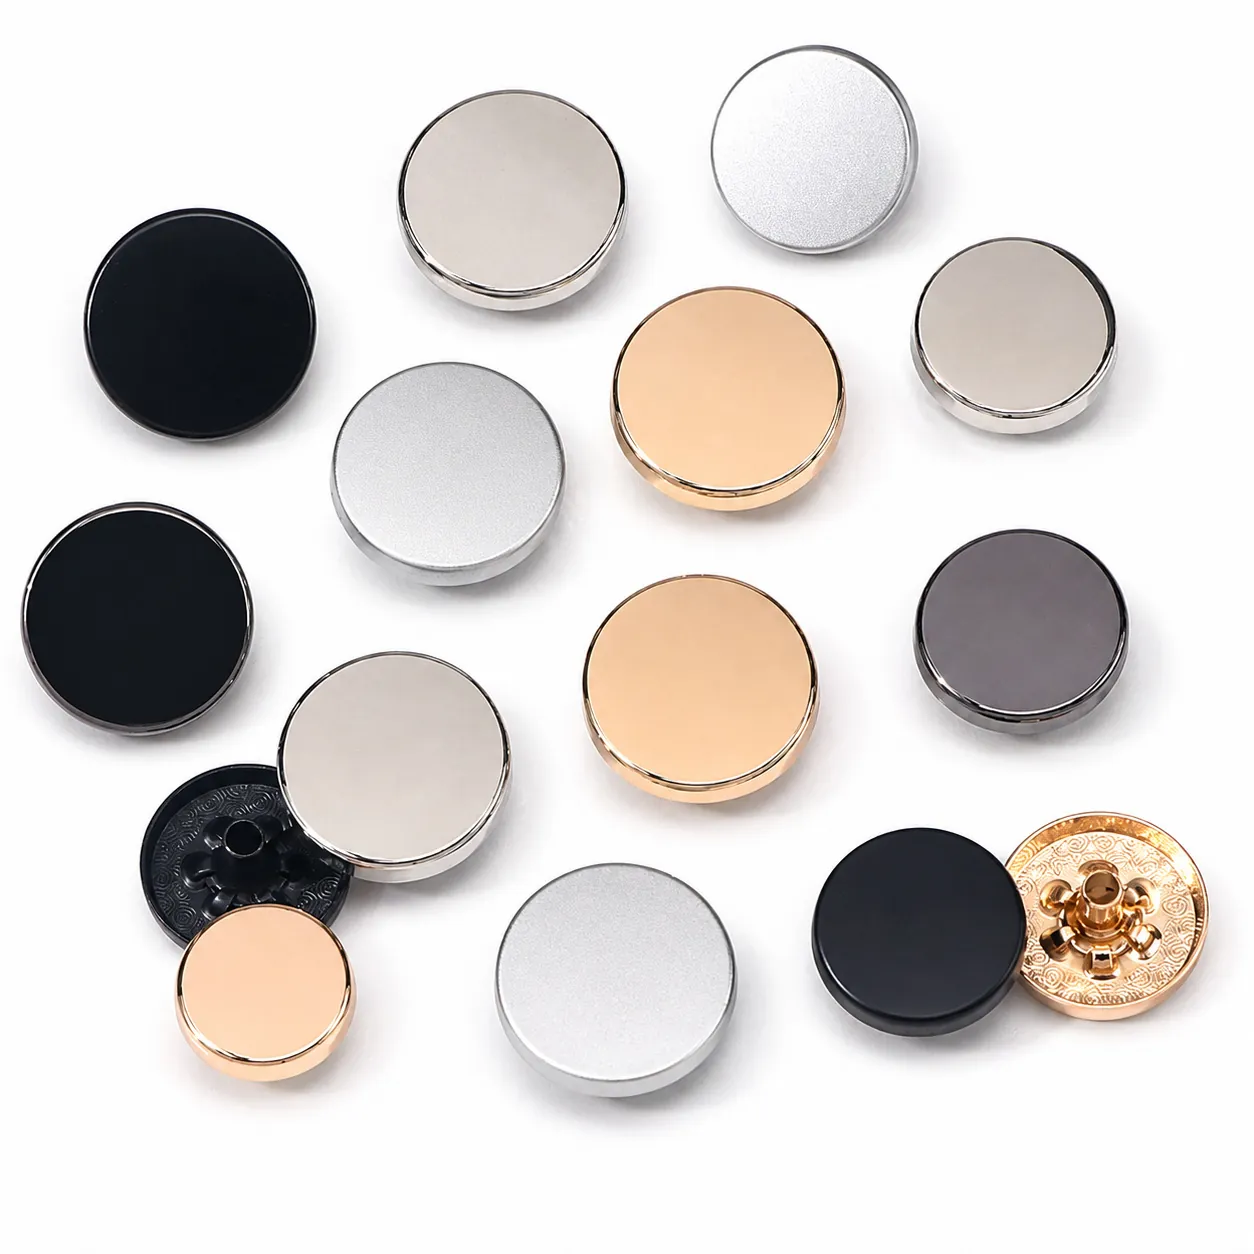
A button can look correct from the front and still fail once it reaches the assembly line. A sew-on button may sit too far from the material because its rear shank is too high. A snap may close loosely because the socket and stud do not match, or feel excessively tight because the spring, post length and setting pressure were selected without checking the actual panel.
When we review a button project, the front design is only one part of the discussion. We also ask what the button attaches to, how thick the complete material stack is, whether the back remains accessible, which mating parts are required and how the factory plans to set or sew the component.
Quick answer: choose by function, panel thickness and attachment structure
Choose a rear-shank sew-on button when thread attachment suits the product and the operator can reach the back of the material. Choose a snap button when the product needs repeated opening and closing through a compatible spring, socket, stud and post assembly.
Do not begin with finish or cap artwork alone. Begin with the required function, the complete material stack and the planned assembly method. These answers narrow the structure before cap shape, logo detail and finish are discussed.
- Does the button provide closure, decoration or both?
- What material and reinforcement layers will sit beneath it?
- Will it be sewn by thread or installed with a setting die?
Snap buttons vs sew-on buttons
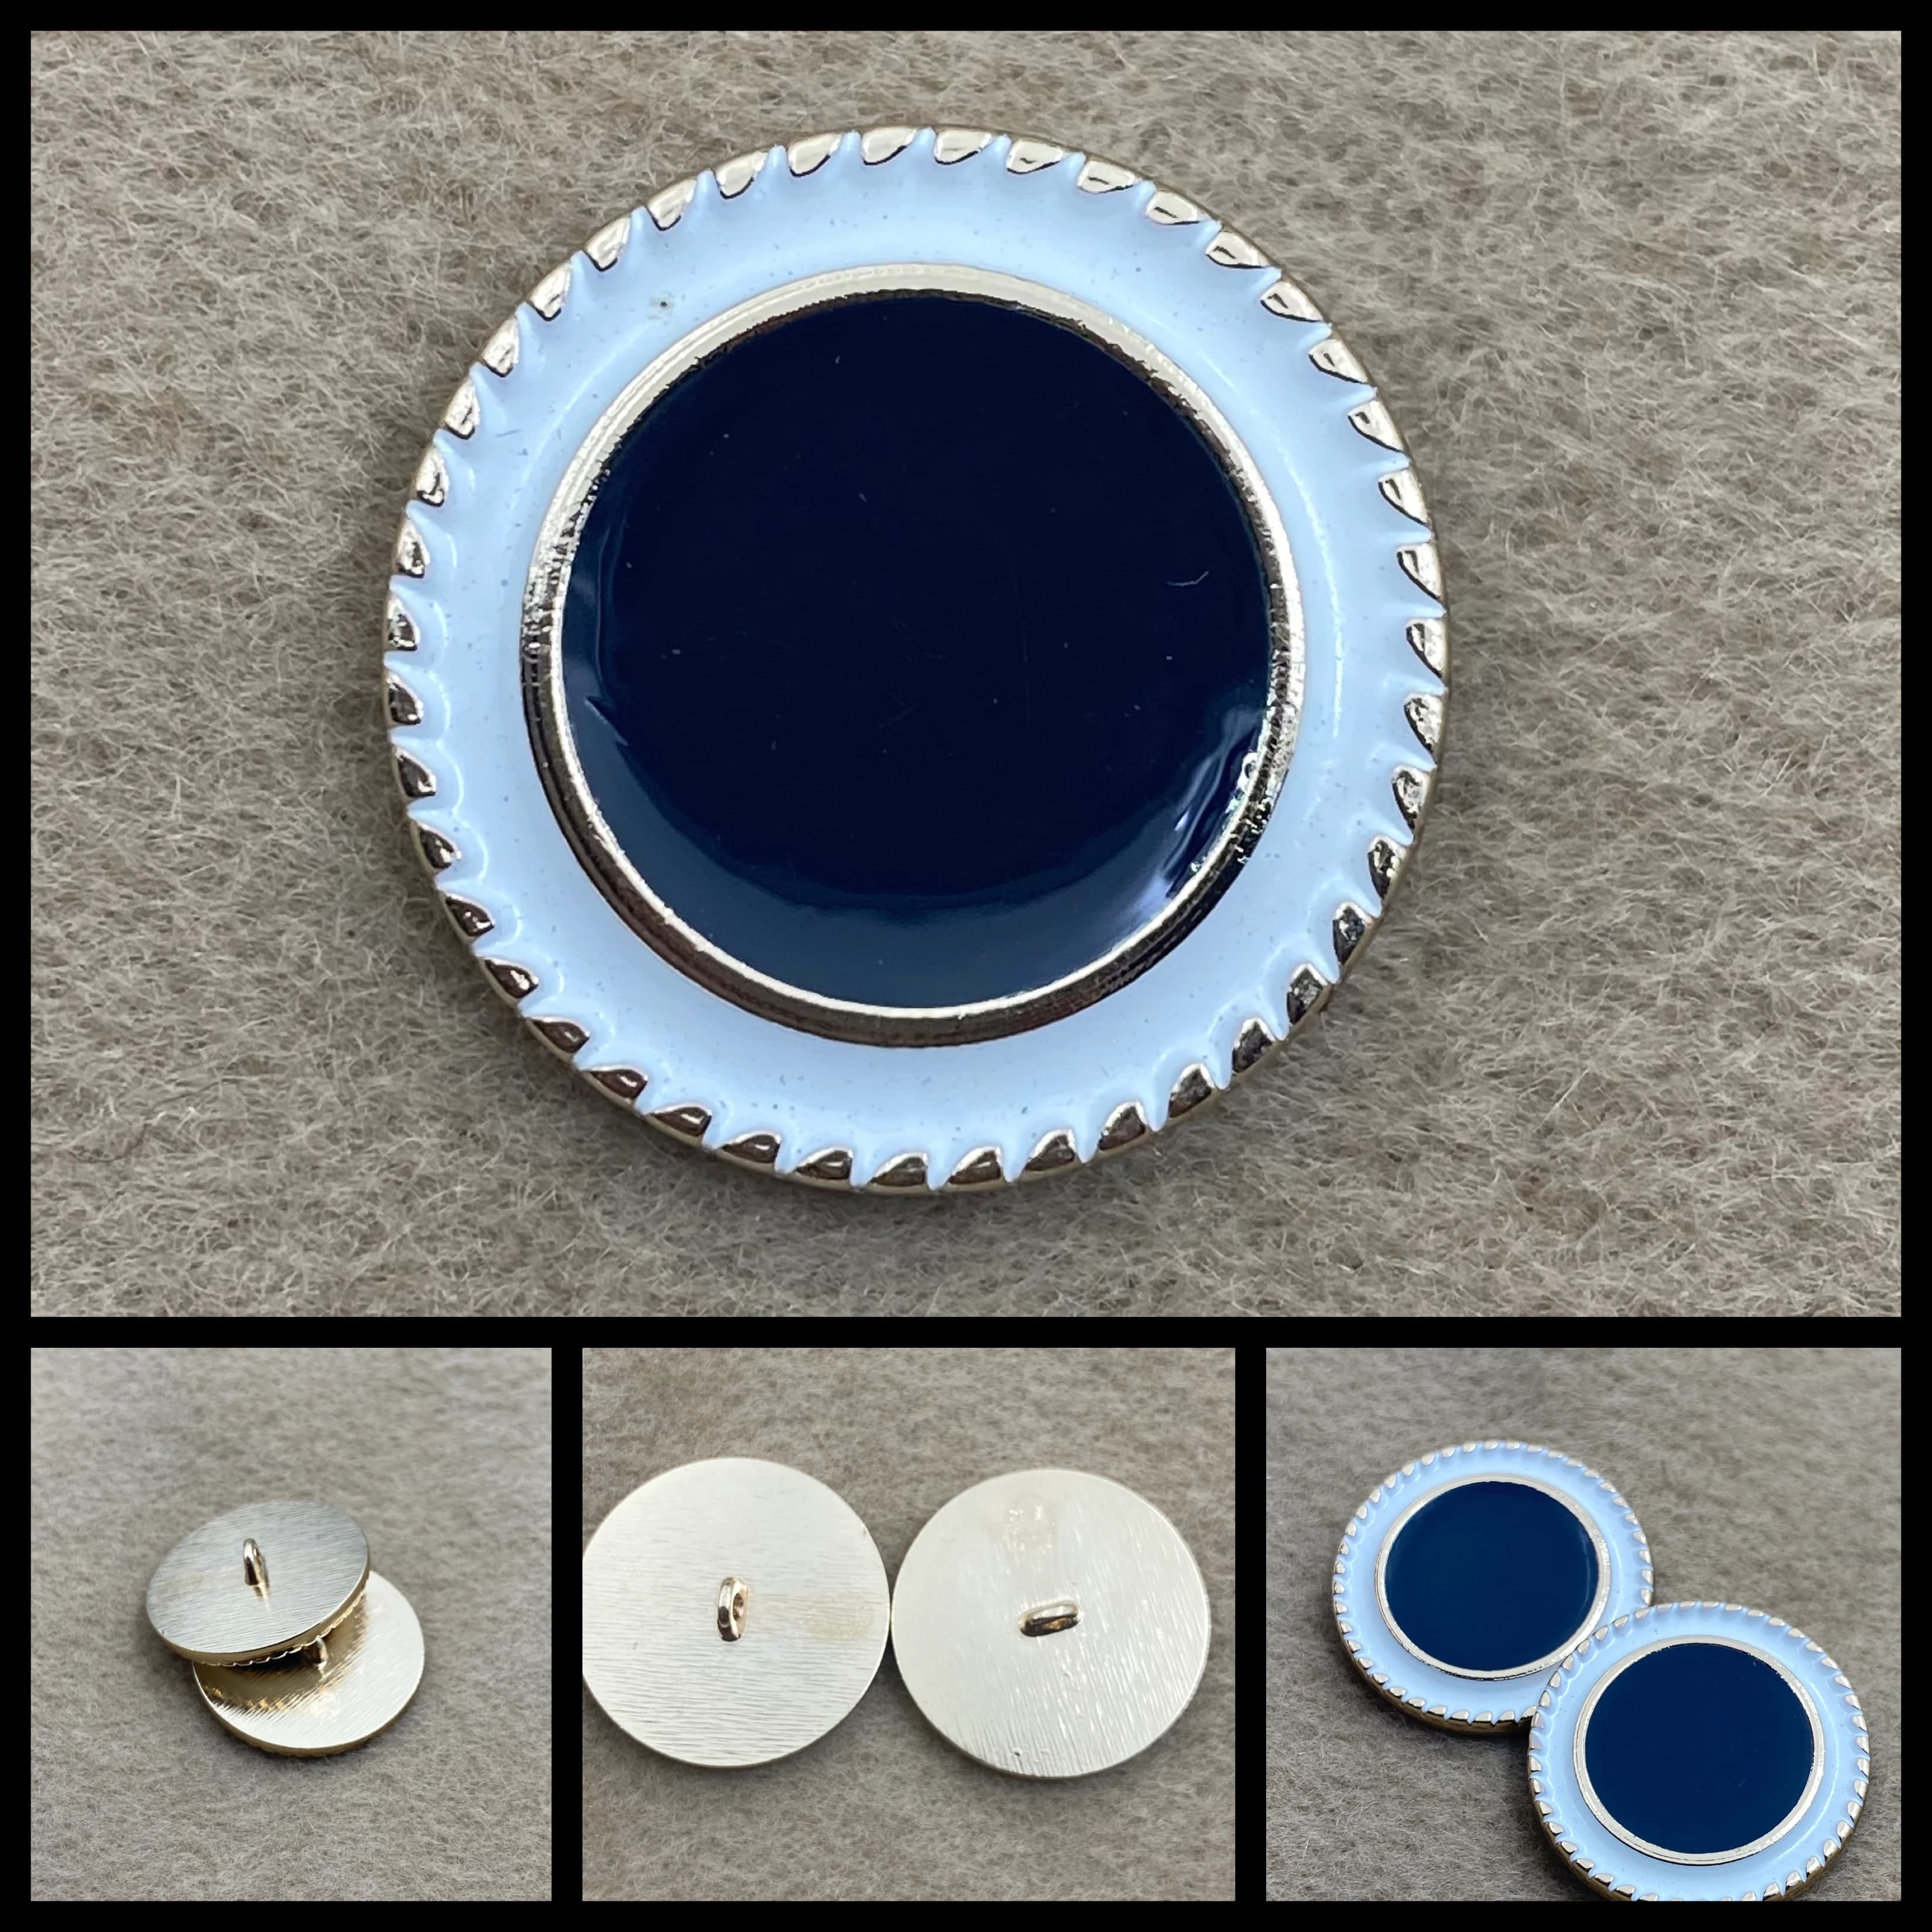
A sew-on button normally consists of a visible cap and a rear shank with a sewing opening. Thread secures the button to the garment, bag or leather panel. The important dimensions are not limited to the front diameter: shank height, opening size and clearance around the thread path matter as well.
A snap button is an assembly rather than a cap alone. The socket or spring must engage with a compatible stud, post or mating part. Components from different structures should not be assumed to fit because their front diameters look similar.
When a rear-shank sew-on button works better
A rear shank is useful when the button will be attached by thread and the product construction allows sewing access. This structure is common on garments, jackets, bags, leather goods and decorative accessories.
We normally check the shank opening against the intended thread, then compare the shank height with the panel thickness. If the shank is too low, the button may press against the material or leave insufficient sewing clearance. If it is too high, the button may lean, rotate or sit farther from the surface than intended.
A front photo cannot answer these questions. A rear and side view, together with the target diameter and material thickness, gives a much clearer basis for sampling.
When to use a spring-and-socket snap structure
A snap structure is appropriate when the product needs a functional closure. The spring or socket, stud, post and cap must be treated as one system. Changing one component can alter the engagement depth or closing force.
Closing force should be assessed on the actual material stack rather than from loose components by hand. A closure that feels acceptable on reinforced leather may be too firm for lightweight fabric. A snap that closes easily before installation may become loose if the post is not set correctly.
We also check the proposed setting method. The die profile must suit the cap and mating components, while the setting pressure must secure the assembly without crushing the panel, marking the cap or distorting the spring.
Specifications to confirm before sampling
Not every drawing needs to be complete in the first message. However, the following information helps us identify structural risks early. The aim is not to collect paperwork for its own sake. It is to avoid preparing a visually correct sample around the wrong rear structure.
- Front diameter, cap profile and visible shape
- Fabric, leather or panel material
- Total thickness, including reinforcement and lining
- Rear-shank opening and height for sew-on buttons
- Socket, spring, stud, post and mating-component references
- Post length and setting allowance
- Preferred closing force or an approved physical reference
- Available setting machine and die information
- Application, expected use and project-based testing requirements
Where problems often appear
Most button problems come from a mismatch between the hardware, panel and assembly method rather than from the front cap. These issues are easier to correct before tooling or sampling than after buttons have been installed across a finished production panel.
- Loose closure: the socket and stud may not match, the post may be under-set, or the material stack may be thinner than expected.
- Excessive closing force: the spring structure may be too firm for the application, or setting pressure may have changed the engagement between components.
- Short post: the post may not pass through the complete material stack or leave enough material for secure setting.
- Fabric tearing: the structure, post length, die or setting pressure may concentrate too much force around the installation point.
- Unsuitable rear shank: a low shank restricts sewing clearance, while an overly high shank can allow movement or make the button sit awkwardly.
Finish and custom artwork options
Silver-tone, gold-tone, gunmetal, antique and matte directions can be discussed according to the cap structure and application. A reference photo or physical sample is more useful than a finish name alone because tone and surface reflection can change across different shapes.
Logos may use raised, recessed, engraved or cast detail depending on the artwork, available area and manufacturing method. Fine lines and small text should be checked against the cap diameter. Artwork must also leave sufficient clearance around slots, edges and functional areas.
What buyers should send for an RFQ
A clear product photo and application description are enough to start. If a drawing is not ready, send the closest existing sample and mark what needs to change.
- Front, rear and side reference images
- Target diameter and profile
- Panel material and approximate total thickness
- Logo artwork or decorative reference
- Preferred finish photo or physical sample
- Mating-component reference, if available
- Planned sewing or setting method
- Estimated quantity and intended application
- Testing or target-market requirements that should be discussed
Five structure references
These products illustrate different attachment and cap structures. They are sourcing references, not universally interchangeable replacements. Dimensions and compatibility still need to be checked against the application.
Practical questions buyers often ask
Can the same snap button be used on every fabric?
No. Material thickness, reinforcement, stretch, surface texture and required closing force can change the post length, mating components and setting method.
What information is needed before sampling?
Send the target size, front and back reference, panel material and thickness, application, finish direction, mating-component information and setting method if known.
How do I choose between sew-on and snap buttons?
Choose a rear-shank sew-on button when thread attachment suits the construction. Choose a snap assembly when repeated opening and closing is required and compatible mating components can be installed correctly.
Can finish, logo or surface detail be customized?
These options can be discussed according to the cap size, artwork, structure and application. Exact finish and logo processes should be confirmed through artwork review and an approved sample. Testing can be arranged based on project requirements.
Send your button reference, front and back photos, panel thickness, finish direction and known mating components if you want us to check the attachment structure and identify the details that still need confirmation.
Send Project Details